Many of you have asked how I brought my MCIS Holiday Train to life, so we are going to spend this blog post doing exactly that! Quite a bit of content to cover which would not have done the process justice if just posting on Facebook.
MATERIAL & DESIGN
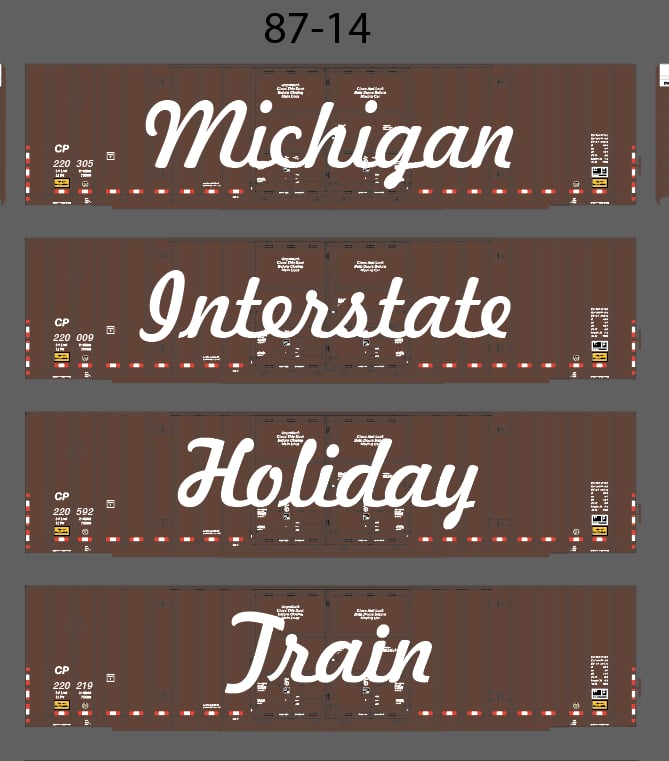
Matt Welke got the idea in my head while he was making those CPKC Holiday Train decals. Look no further than the prototype for inspiration in the form of 60’ Plate F boxcars. The specific boxcars used by CP are not made and that’s ok as the car type was really just inspiration.
What was available were Walthers Mainline 60’ double door boxcars with the GTW/CN version very sparse marked (Only reporting marks). Made an order for (4) from the good folks at Midwest Model Railroad and they arrived before I knew it.
Alongside the railcars, I need the actual signage which was cut by Circus City Decals from very thin styrene. Topping off the material and design was the 26 led flashing kit from Evan’s Designs.
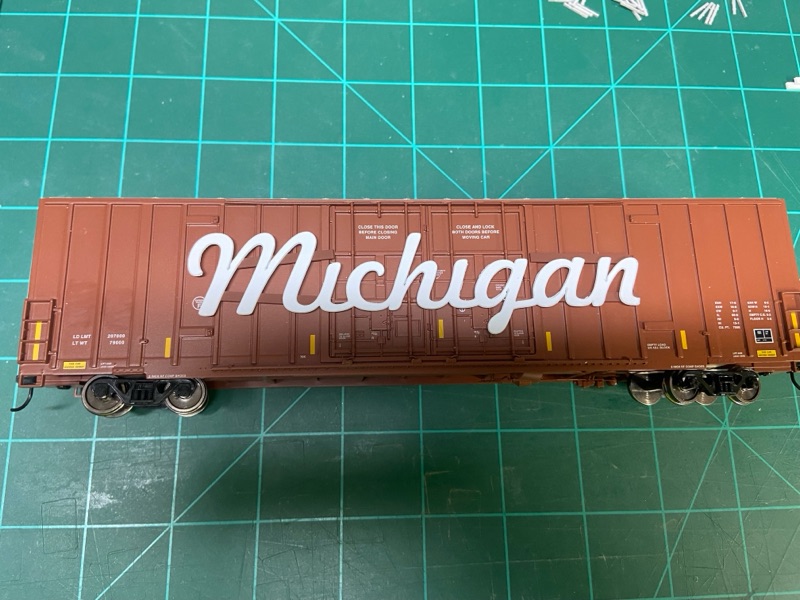
With railcar and signage on hand I mocked up the layout using the artwork Matt provided. The goal was not to heavily modify the cars but keep it since I had to add lighting still. Getting the lettering even with the door rods was accomplished with (4) styrene strips that I cut, painted, and installed.
Material Listing
(4) Walthers Mainline 60' Double Door Boxcars
(4) Evans Designs - 26 nano LED flashing multi-color light kit / 3V
Mini Colored String Lights | Shop for Mini Multi-Colored Lights
(1) Styrene to level out signage
(1) Set of custom cut signage from Circus City Decals + Decals for new reporting marks
(1) CA glue + Accelerator
(1) Spray Adhesive
(1) Paints to match / your choice
(1) Glitter of your choice
(12) AAA batteries
INSTALLATION
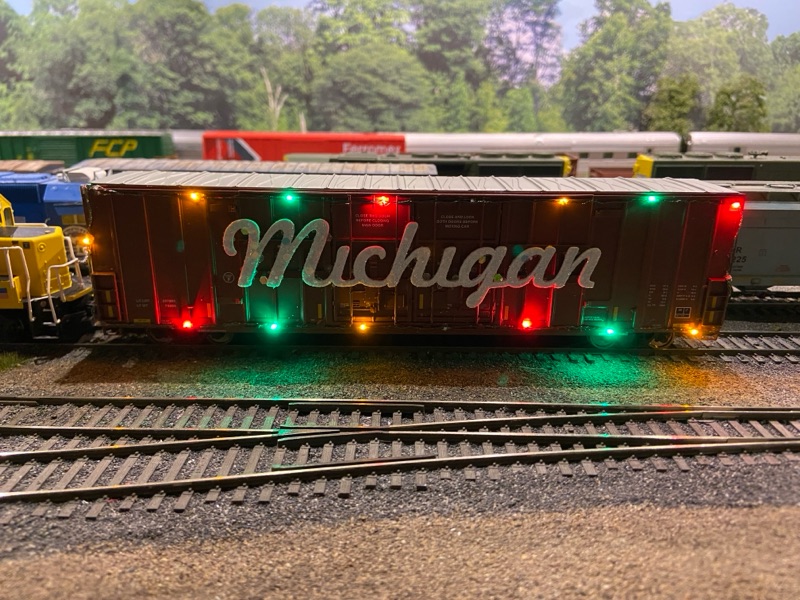
Before I spent a bit of money ($35 per light kit x 4 railcars) I figured it would be wise to complete installation on MCIS7401 "MICHIGAN". If everything worked out well on this car, it would just be a matter of applying to the rest of the boxcars. Since I am writing this blog post, we can rest assured that it all worked out just fine. Please mind the photos I forgot to take them during the first railcar so what you will see if the concept that applied to all installations.


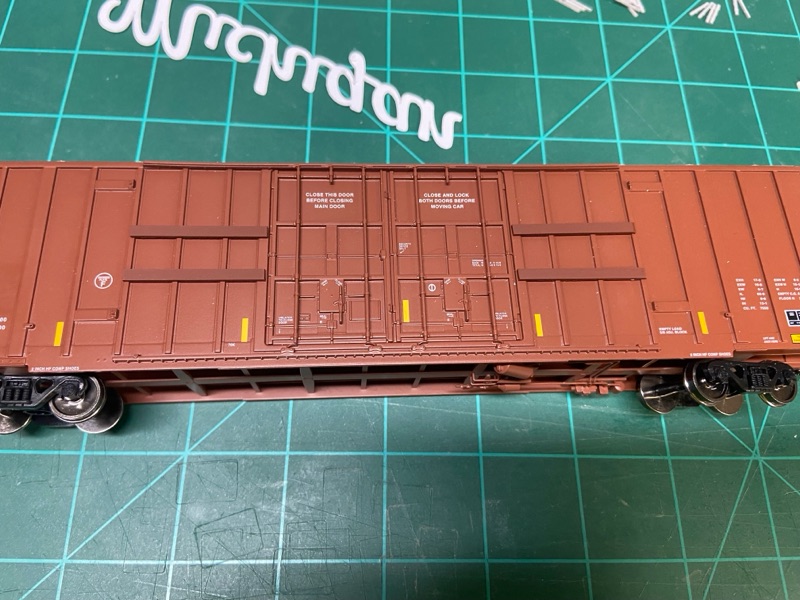
Install Item 1 (Styrene Support) - Depending on the length of the signage determined the length of the styrene strips that were used to level out everything. What I did ensure no matter the length was the strips spanned from the door frame out either the first, second, or third rib providing a solid support. These were painted to match the railcar before installation.

Install Item 2 (Paint / Glitter the Signage) - Just like it sounds each sign after removing from cutout had a bit of clean up sanding, then got a white base coat and after this dried were sprayed with Elmers adhesive and covered in a snowflake glitter. This glitter helps reflect the light from the leds around the car.

Install Items 3 (Install the new decals) - which for these cars were just reporting marks and numbers

Install Item 4 (Conduit clearance) - while the battery, switch, and controller are located inside the boxcar, I needed a way to get the wire to the outside. On each car in the upper left corner I notched out a very small portion of the eave where the wire threads through to begin the lighting around the carbody.
Install Item 5 (Railcar Signage) - I went ahead and installed all of the interior signage with the LEDs being added last around the perimeter.

Install Item 6 (LED Install) - With the interior items and conduit path made I installed the LEDs from the upper left corner (clockwise) around the car. For this I use gel type CA applied using a toothpick and CA accelerator to quickly lock in the LED before moving to the next one. The LED kit I used operates independent of track power, be sure to test out before install to ensure everything is working properly.


After installing all of the lights come the fun part of testing and operating your railcars. I will share how the train was operated along with its train consist in the next post.
No comments:
Post a Comment