Scenic Refresh @ East Bay
Prior to the signal install I cleaned out a lot of scenery elements like bushes and trees since they could get damaged in the signal install. More importantly this area needed a refresh. With signals installed and operating here, I spent some time over the weekend added back grasses, ground cover, and trees. Additionally I took a whirl at painting a simple backdrop to represent distance trees using craft paints. The backdrop when paired with trees and scenery looks pretty good.
The key on scenery in my opinion is having lots of product variety and layering. Add some, take a break let it dry and the add some more. Like my good friend Shannon Crabtree I prefer to do my scenic gluing and work at night. (Be sure to check out his recent video posts). While I sleep it dries, then in the morning you get to see the end result. Scenery is a forgiving process, but it takes time and lots of practice. Sometimes you just have to jump in and give it a shot, you will surprise yourself.
Heki Wildgrass 1577 that installs with white glue. It can stretched very thin or left in larger clumps.
Right of Way Signage
One detail overlooked a lot is signs along the railroad right of way. When you stop and look there is a lot more than just track and vegetation. A great resource I refer to often is the How To Build Realistic Layouts "Trackside Scene" special edition. This book has an article about right of way signs, examples, and product list in HO scale. Each railroad has their standard style including MCIS so let's take a look along the right of way.
Signs you have been familiar with... DTC signs at block and switch boundaries along the Clair. Aka: Toothpick wonders
DTC / ABS sign combined. Originally the DTC signs were mounted on toothpicks. As scenes are completed I remount them to scale sized posts.
Blair Line signage used as basis for MCIS whistle boards, derails, speed limits, and begin / end ABS. MCIS standard calls for 90' corners and are box, diamond, or rectangle in shape. DTC signs are high visibility green with black lettering. The other balance of signs are black font on white backgrounds.
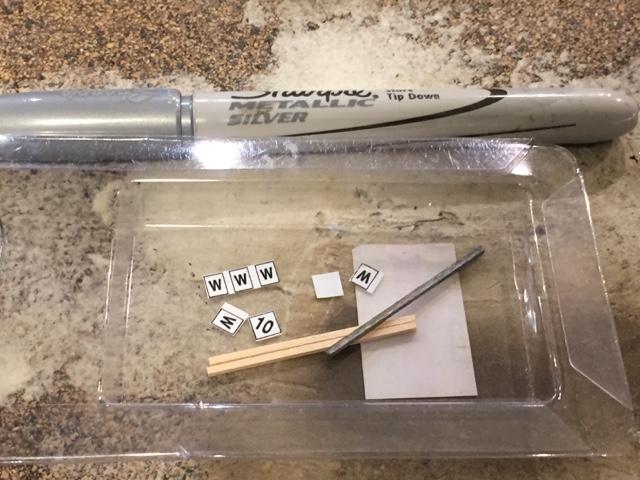
Once cutout I use a silver sharpie to color the sign post before using a small dab of CA to afix on post.
PSA: (In no way should you ever trespass on railroad property or right of way to get photos or sign ideas. This is dangerous and illegal.)
Well there you have it progress from well progress. I imagine as the signal project gets more advanced these type of extra strides may be less, but any progress you can make on your layout should be celebrated as a success. My guest and regular operators along with myself will appreciate the detail. Later this week I will be posting my Part 2 ABS Signal Install post so be sure to check back soon.
GM


The progress is impressive! Thank you for sharing.
ReplyDeleteLooks great Greg! Wish I could get that scenery itch back! This post just have might done it.
ReplyDeleteAppreciate the great feedback, glad to share the journey.
ReplyDeletePlenty of great things still to come. The best part of this hobby, always a project.