Merger & Acquisiton
Rumor has it Michigan Interstate parent company Lakes Interstate Transportation Group has placed a takeover bid of the Natchez Trace & Orient parent railroad and its subsidiaries. Officials were quoted "These guys are a good fit in helping us create the Great Lakes, Gulf, & Orient Railroad, their current leadership team will help bring together two great railroads and create an competitor to rival current class 1s". When asked how they would connect between Indiana and the southeast an official was quoted "We will just buy someone else to fit the mileage gap".
Making Ground Dirt
When starting scenery I choose to make my own dirt after reading Pelle Soeberg experience. The process is pretty straight forward and inexpensive, so I want to share my process. If you are looking to do something like this, i hope this brings some inspiration or instruction.
- Step 1 (Base Material)

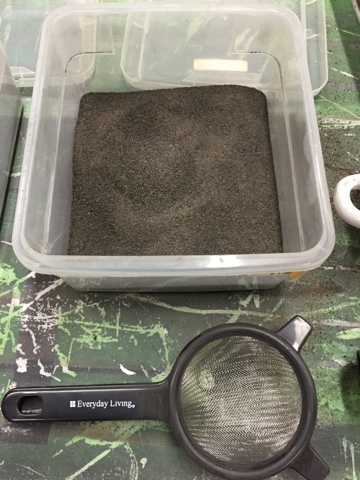
- Step 2 (Basic Screening)

- Step 3 (Baking the dirt)
After basic screening the dirt falls onto a disposable aluminum baking pan where I spread a thin layer to bake. I bake 4 pans at a time, use something disposable versus the wifes good pans. I bake the dirt at 400 degrees for 30 minutes to kill off anything. Additionally the baking dries out the dirt making it perfect to sift for model railroad use.
- Step 4 (Coarse Sift)

- Step 5 (Fine Sift)

- Step 6 (Placement)

Any questions please feel free to ask.
Vegetation Growth
Staying true to my process for scenery install, I need to had one more set of cornfields to install before I can complete the dirt material and ballast. Once this later is in, we will go wet-wet with scenic cement to add foliage, grasses, and foam ground covers.


Ironically making this scene green corresponds to Spring here in Texas. Stay tuned as this month we will get the last bit of corn installed and dive head first into full scenery between Grays Lake and Gerhard.
- Have a great weekend.
GM
GLGO....Will that fit on a G&W logo? HA!
ReplyDelete